DISCRIPTIONS
Hybrid measuring instrument for surface roughness and contour measurement
► Contour Measuring Functions
■ Detector with new arm design
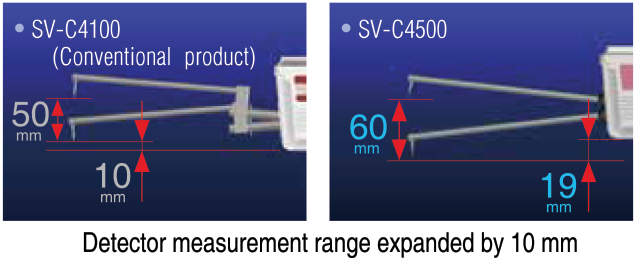
Mitutoyo’s newly designed detector arm lowers workpiece interference while expanding the measurement range in the Z1 axis (detector).
• When using the SPH-71 one-sided cut stylus
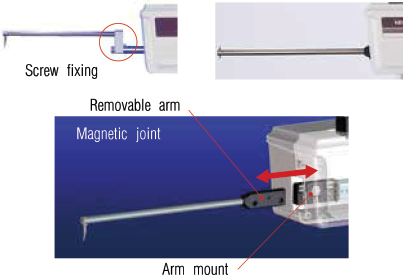
One-touch arm attachment (Patent pending in Japan)
The arm mount uses a magnetic joint for quick and easy arm replacement. The mount also includes a safety mechanism.
• SV-C4100 (Conventional product) • SV-C4500
■ New function specified for 4500 Series
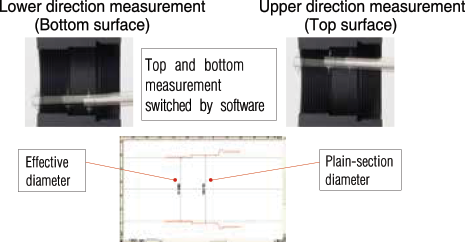
Continuous top-bottom measurement function
Upper and lower surfaces can be measured continuously by using Mitutoyo’s double-sided conical stylus.
This continuous measurement data can be used to facilitate analysis of features that were difficult to measure before, such as the effective diameter of an internal screw-thread.
Continuous top-bottom measurement allows hassle-free one-step calibration
(Patent pending in Japan)
The one-step calibration kit supplied with the SV-C4500 Series has been upgraded to enable easy calibration of the double-ended conical stylus featuring a contact on both the top and the bottom.
Precise work such as calibrating the Z1-axis gain, symmetry, and stylus radius can now be carried out in a single operation.
Variable measuring force function
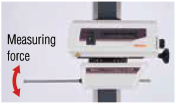
The measuring force can be varied in 5 steps by using the software provided (FORMTRACEPAK), eliminating the need to adjust the measuring force by switching weights or through positional adjustment.
The SV-C4500 Series can also maintain the specified measuring force even when tilted.
Surface Roughness Measuring Functions
► Supporting International Standards
Compliant with JIS ’82/’94/’01, ISO, ANSI, DIN, VDA, and other international surface roughness standards.
► We offer a product lineup of surface roughness detectors with different measuring forces
Standard detectors can be selected (as listed below) to conform to the international standard required.
0.75mN (tip angle 60°; tip radius 2μm)
4mN (tip angle 90°; tip radius 5μm)
►Reduction of measuring time and operator’s fatigue
In addition to high speed movement of main unit, reduction of setting time and operator’s fatigue can be achieved by using Auto-leveling Table (option), which allows automatic leveling for a measuring face.
Common specifications
► Fast traverse improves measurement efficiency
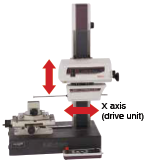
X axis (drive unit) : 80mm/s (MAX)
Z2 axis (column) : 30mm/s (MAX)
The total measurement time can be shortened by speeding up the traverse movements.
► Auto stop feature assures safety even during high-speed movement
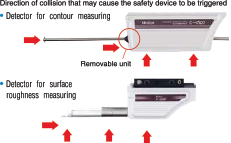
The detector includes a safety mechanism (auto stop upon collision) to assure measurement safety even during highspeed movement. If the arm is removed or shifts during measurement, the safety mechanism is triggered and stops the machine.
►Remote-control unit enables safe, easy & fast measurement
The remote-control unit lets you move quickly from positioning to measurement. The unit also features an emergency stop switch and speed control knob for added safety while the machine is moving at high speeds.
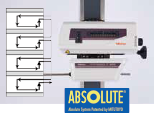
Incorporation of an ABS scale in the Z2 axis eliminates the need for wearisome origin point re-setting conventionally required for every step of repeated measurements over stepped or multiple sections.
All detector and drive unit cables are housed inside the main unit to eliminate any risk of abrasion and guarantee trouble free, high-speed operation.


