- Sort by Default Order
- Display 12 Products per page
-
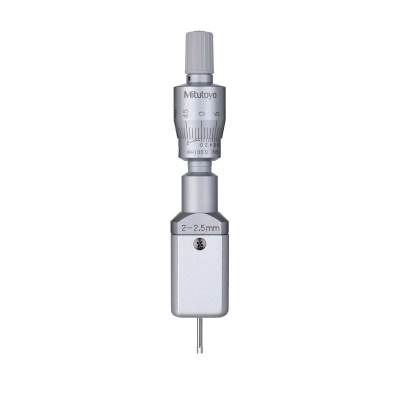
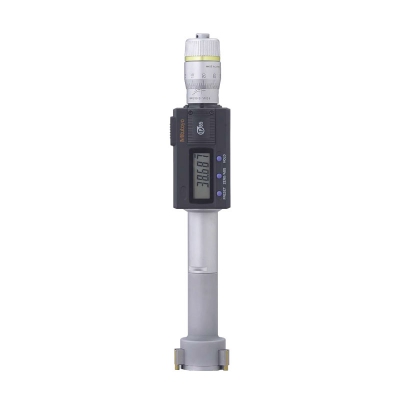
368-001 | Holtest – Two Point Internal Micrometer Holtest 2-2.5 mm | MITUTOYO
2-POINT INTERNAL MICROMETER HOLTEST | MITUTOYO
Order No. 368-001
Range. 2-2.5mm
Description
• Titanium-coated measuring pins on the three-point type (over 6 mm range models) provide excellent durability and impact resistance.
• Three-point internal micrometer with measuring range 6 mm or longer allows stable measurement through self-centering.
• Measurement can be made close to the bottom of a blind hole.
• Deep holes can be measured by attaching an Extension Rod (optional) which is available on models over 6 mm (0.275 in) measuring range. -
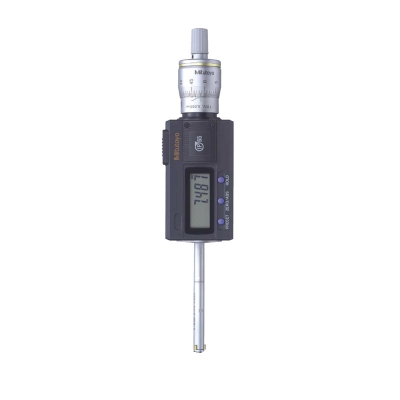
368-003 | Holtest – Two Point Internal Micrometer Holtest 3-4 mm | MITUTOYO
2-POINT INTERNAL MICROMETER HOLTEST | MITUTOYO
Order No. 368-003
Range. 3-4 mm
Description
• Titanium-coated measuring pins on the three-point type (over 6 mm range models) provide excellent durability and impact resistance.
• Three-point internal micrometer with measuring range 6 mm or longer allows stable measurement through self-centering.
• Measurement can be made close to the bottom of a blind hole.
• Deep holes can be measured by attaching an Extension Rod (optional) which is available on models over 6 mm (0.275 in) measuring range. -
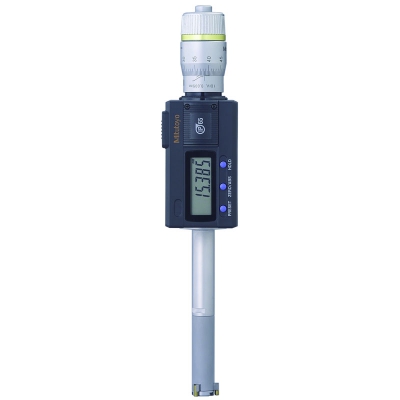
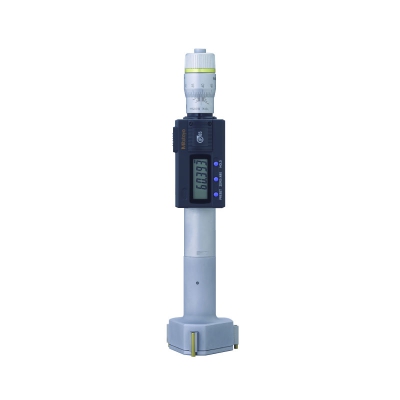
468-162 | Digimatic Holtest – 3-point Internal Micrometers – Series 468 | MITUTOYO
DIGIMATIC HOLTEST – 3-POINT INTERNAL MICORMETER
Order No. : 468-162
Range : 8-10 mm
Description :
• Three-point internal micrometer with large LCD readout. (Character height 7.4 mm)
• Deep holes can be measured by attaching an Extension Rod (optional).
• Measurements can be made close to the bottom of a blind hole.
• Titanium-coated measuring pins provide excellent durability and impact resistance. -
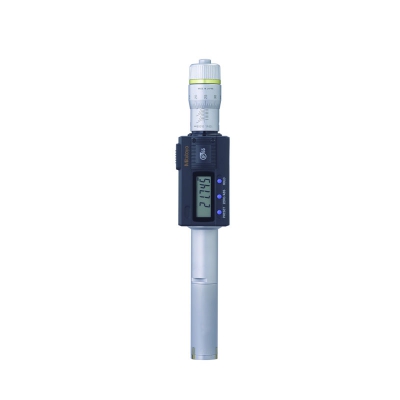
468-163 | Digimatic Holtest – 3-point Internal Micrometers – Series 468 | MITUTOYO
DIGIMATIC HOLTEST – 3-POINT INTERNAL MICORMETER
Order No. : 468-163
Range : 10-12 mm
Description :
• Three-point internal micrometer with large LCD readout. (Character height 7.4 mm)
• Deep holes can be measured by attaching an Extension Rod (optional).
• Measurements can be made close to the bottom of a blind hole.
• Titanium-coated measuring pins provide excellent durability and impact resistance. -
468-164 | Digimatic Holtest – 3-point Internal Micrometers – Series 468 | MITUTOYO
DIGIMATIC HOLTEST – 3-POINT INTERNAL MICORMETER
Order No. : 468-164
Range : 12-16 mm
Description :
• Three-point internal micrometer with large LCD readout. (Character height 7.4 mm)
• Deep holes can be measured by attaching an Extension Rod (optional).
• Measurements can be made close to the bottom of a blind hole.
• Titanium-coated measuring pins provide excellent durability and impact resistance. -
468-165 | Digimatic Holtest – 3-point Internal Micrometers – Series 468 | MITUTOYO
DIGIMATIC HOLTEST – 3-POINT INTERNAL MICORMETER
Order No. : 468-165
Range : 16-20 mm
Description :
• Three-point internal micrometer with large LCD readout. (Character height 7.4 mm)
• Deep holes can be measured by attaching an Extension Rod (optional).
• Measurements can be made close to the bottom of a blind hole.
• Titanium-coated measuring pins provide excellent durability and impact resistance. -
468-166 | Digimatic Holtest – 3-point Internal Micrometers – Series 468 | MITUTOYO
DIGIMATIC HOLTEST – 3-POINT INTERNAL MICORMETER
Order No. : 468-166
Range : 20-25 mm
Description :
• Three-point internal micrometer with large LCD readout. (Character height 7.4 mm)
• Deep holes can be measured by attaching an Extension Rod (optional).
• Measurements can be made close to the bottom of a blind hole.
• Titanium-coated measuring pins provide excellent durability and impact resistance. -
468-167| Digimatic Holtest – 3-point Internal Micrometers – Series 468 | MITUTOYO
DIGIMATIC HOLTEST – 3-POINT INTERNAL MICORMETER
Order No. : 468-167
Range : 25-30 mm
Description :
• Three-point internal micrometer with large LCD readout. (Character height 7.4 mm)
• Deep holes can be measured by attaching an Extension Rod (optional).
• Measurements can be made close to the bottom of a blind hole.
• Titanium-coated measuring pins provide excellent durability and impact resistance. -
468-168 | Digimatic Holtest – 3-point Internal Micrometers – Series 468 | MITUTOYO
DIGIMATIC HOLTEST – 3-POINT INTERNAL MICORMETER
Order No. : 468-168
Range : 30-40 mm
Description :
• Three-point internal micrometer with large LCD readout. (Character height 7.4 mm)
• Deep holes can be measured by attaching an Extension Rod (optional).
• Measurements can be made close to the bottom of a blind hole.
• Titanium-coated measuring pins provide excellent durability and impact resistance. -
468-169 | Digimatic Holtest – 3-point Internal Micrometers – Series 468 | MITUTOYO
DIGIMATIC HOLTEST – 3-POINT INTERNAL MICORMETER
Order No. : 468-169
Range : 40-50 mm
Description :
• Three-point internal micrometer with large LCD readout. (Character height 7.4 mm)
• Deep holes can be measured by attaching an Extension Rod (optional).
• Measurements can be made close to the bottom of a blind hole.
• Titanium-coated measuring pins provide excellent durability and impact resistance. -
468-170 | Digimatic Holtest – 3-point Internal Micrometers – Series 468 | MITUTOYO
DIGIMATIC HOLTEST – 3-POINT INTERNAL MICORMETER | MITUTOYO
Order No. : 468-170
Range : 50-63 mm
Description :
• Three-point internal micrometer with large LCD readout. (Character height 7.4 mm)
• Deep holes can be measured by attaching an Extension Rod (optional).
• Measurements can be made close to the bottom of a blind hole.
• Titanium-coated measuring pins provide excellent durability and impact resistance.
• Two preset values can be stored as reference points. -
468-171 | Digimatic Holtest – 3-point Internal Micrometers – Series 468 | MITUTOYO
DIGIMATIC HOLTEST – 3-POINT INTERNAL MICORMETER | MITUTOYO
Order No. : 468-171
Range : 62-75 mm
Description :
• Three-point internal micrometer with large LCD readout. (Character height 7.4 mm)
• Deep holes can be measured by attaching an Extension Rod (optional).
• Measurements can be made close to the bottom of a blind hole.
• Titanium-coated measuring pins provide excellent durability and impact resistance.
• Two preset values can be stored as reference points.

