- Sort by Default Order
- Display 12 Products per page
-
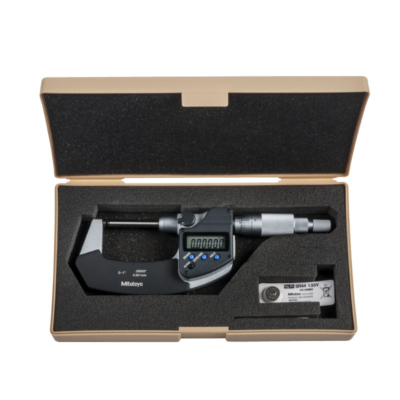
406-350-30 | Outside Micrometer Series 406 – Non Rotating Spindle Type, 0-1″ | Mitutoyo
Outside Micrometer Series 406 – Non Rotating Spindle Type
Range : 0-1″
Resolution : 0.00005″/0.001 mm
Order No. : 406-350-30
• The non-rotating spindle type does not apply rotational pressure to a measured object and is therefore suitable for measurement of soft materials and thin films.
• Measuring face of the spindle is carbide tipped.
• Spindle ø6.35 mm
• Equipped with Ratchet Stop for constant measuring force. -
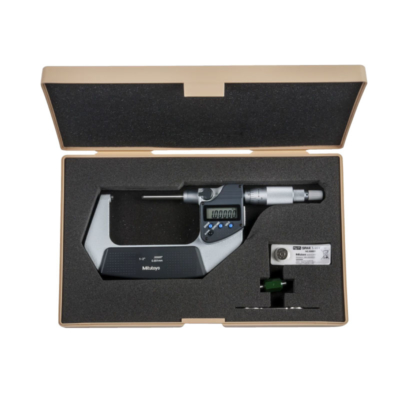
406-351-30 | Outside Micrometer Series 406 – Non Rotating Spindle Type, 1-2″ | Mitutoyo
Outside Micrometer Series 406 – Non Rotating Spindle Type
Range : 1-2″
Resolution : 0.00005″/0.001 mm
Order No. : 406-351-30
• The non-rotating spindle type does not apply rotational pressure to a measured object and is therefore suitable for measurement of soft materials and thin films.
• Measuring face of the spindle is carbide tipped.
• Spindle ø6.35 mm
• Equipped with Ratchet Stop for constant measuring force. -
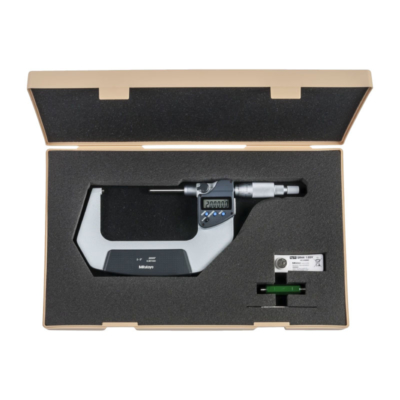
406-352-30 | Outside Micrometer Series 406 – Non Rotating Spindle Type, 2-3″ | Mitutoyo
Outside Micrometer Series 406 – Non Rotating Spindle Type
Range : 2-3″
Resolution : 0.00005″/0.001 mm
Order No. : 406-352-30
• The non-rotating spindle type does not apply rotational pressure to a measured object and is therefore suitable for measurement of soft materials and thin films.
• Measuring face of the spindle is carbide tipped.
• Spindle ø6.35 mm
• Equipped with Ratchet Stop for constant measuring force. -
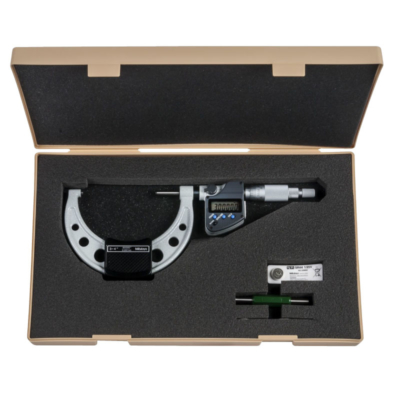
406-353-30 | Outside Micrometer Series 406 – Non Rotating Spindle Type, 3-4″ | Mitutoyo
Outside Micrometer Series 406 – Non Rotating Spindle Type
Range : 3-4″
Resolution : 0.00005″/0.001 mm
Order No. : 406-353-30
• The non-rotating spindle type does not apply rotational pressure to a measured object and is therefore suitable for measurement of soft materials and thin films.
• Measuring face of the spindle is carbide tipped.
• Spindle ø6.35 mm
• Equipped with Ratchet Stop for constant measuring force. -
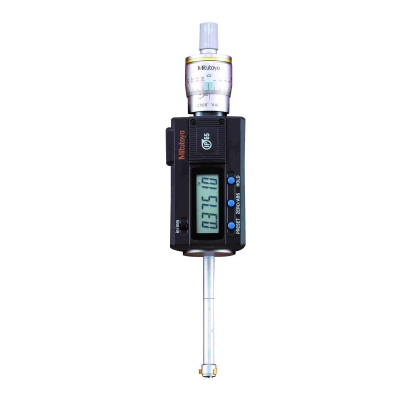
468-261 | Digimatic Holtest – 3-point Internal Micrometers – Series 468 | MITUTOYO
DIGIMATIC HOLTEST – 3-POINT INTERNAL MICORMETER | MITUTOYO
Order No. : 468-261
Range : 0.275-0.35″
Description :
• Three-point internal micrometer with large LCD readout. (Character height 7.4 mm)
• Deep holes can be measured by attaching an Extension Rod (optional).
• Measurements can be made close to the bottom of a blind hole.
• Titanium-coated measuring pins provide excellent durability and impact resistance.
• Two preset values can be stored as reference points. -
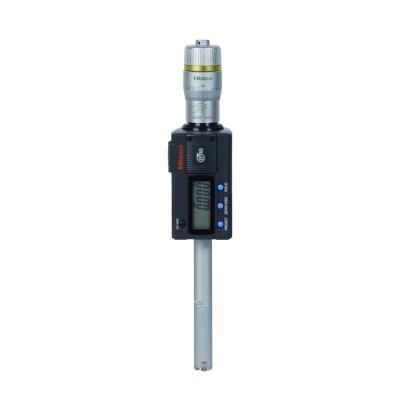
468-262 | Digimatic Holtest – 3-point Internal Micrometers – Series 468 | MITUTOYO
DIGIMATIC HOLTEST – 3-POINT INTERNAL MICORMETER | MITUTOYO
Order No. : 468-262
Range : 0.35-0.425″
Description :
• Three-point internal micrometer with large LCD readout. (Character height 7.4 mm)
• Deep holes can be measured by attaching an Extension Rod (optional).
• Measurements can be made close to the bottom of a blind hole.
• Titanium-coated measuring pins provide excellent durability and impact resistance.
• Two preset values can be stored as reference points. -
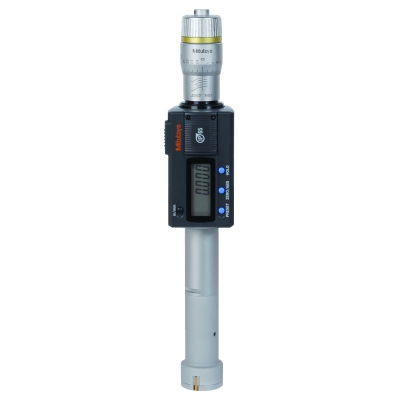
468-263 | Digimatic Holtest – 3-point Internal Micrometers – Series 468 | MITUTOYO
DIGIMATIC HOLTEST – 3-POINT INTERNAL MICORMETER | MITUTOYO
Order No. : 468-263
Range : 0.425-0.5″
Description :
• Three-point internal micrometer with large LCD readout. (Character height 7.4 mm)
• Deep holes can be measured by attaching an Extension Rod (optional).
• Measurements can be made close to the bottom of a blind hole.
• Titanium-coated measuring pins provide excellent durability and impact resistance.
• Two preset values can be stored as reference points. -
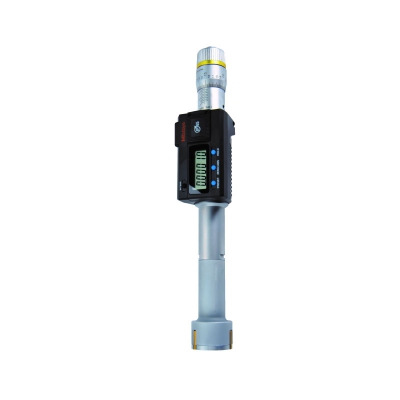
468-264 | Digimatic Holtest – 3-point Internal Micrometers – Series 468 | MITUTOYO
DIGIMATIC HOLTEST – 3-POINT INTERNAL MICORMETER | MITUTOYO
Order No. : 468-264
Range : 0.5-0.65″
Description :
• Three-point internal micrometer with large LCD readout. (Character height 7.4 mm)
• Deep holes can be measured by attaching an Extension Rod (optional).
• Measurements can be made close to the bottom of a blind hole.
• Titanium-coated measuring pins provide excellent durability and impact resistance.
• Two preset values can be stored as reference points. -
468-265 | Digimatic Holtest – 3-point Internal Micrometers – Series 468 | MITUTOYO
DIGIMATIC HOLTEST – 3-POINT INTERNAL MICORMETER | MITUTOYO
Order No. : 468-265
Range : 0.65-0.8″
Description :
• Three-point internal micrometer with large LCD readout. (Character height 7.4 mm)
• Deep holes can be measured by attaching an Extension Rod (optional).
• Measurements can be made close to the bottom of a blind hole.
• Titanium-coated measuring pins provide excellent durability and impact resistance.
• Two preset values can be stored as reference points. -
468-266 | Digimatic Holtest – 3-point Internal Micrometers – Series 468 | MITUTOYO
DIGIMATIC HOLTEST – 3-POINT INTERNAL MICORMETER | MITUTOYO
Order No. : 468-266
Range : 0.8-1″
Description :
• Three-point internal micrometer with large LCD readout. (Character height 7.4 mm)
• Deep holes can be measured by attaching an Extension Rod (optional).
• Measurements can be made close to the bottom of a blind hole.
• Titanium-coated measuring pins provide excellent durability and impact resistance.
• Two preset values can be stored as reference points. -
468-267 | Digimatic Holtest – 3-point Internal Micrometers – Series 468 | MITUTOYO
DIGIMATIC HOLTEST – 3-POINT INTERNAL MICORMETER | MITUTOYO
Order No. : 468-267
Range : 1-1.2″
Description :
• Three-point internal micrometer with large LCD readout. (Character height 7.4 mm)
• Deep holes can be measured by attaching an Extension Rod (optional).
• Measurements can be made close to the bottom of a blind hole.
• Titanium-coated measuring pins provide excellent durability and impact resistance.
• Two preset values can be stored as reference points. -
468-268 | Digimatic Holtest – 3-point Internal Micrometers – Series 468 | MITUTOYO
DIGIMATIC HOLTEST – 3-POINT INTERNAL MICORMETER | MITUTOYO
Order No. : 468-268
Range : 1.2-1.6″
Description :
• Three-point internal micrometer with large LCD readout. (Character height 7.4 mm)
• Deep holes can be measured by attaching an Extension Rod (optional).
• Measurements can be made close to the bottom of a blind hole.
• Titanium-coated measuring pins provide excellent durability and impact resistance.
• Two preset values can be stored as reference points.

