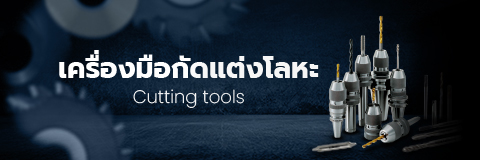
เครื่องมือกัดแต่งโลหะ










Intuitive Usability,Great Scalability
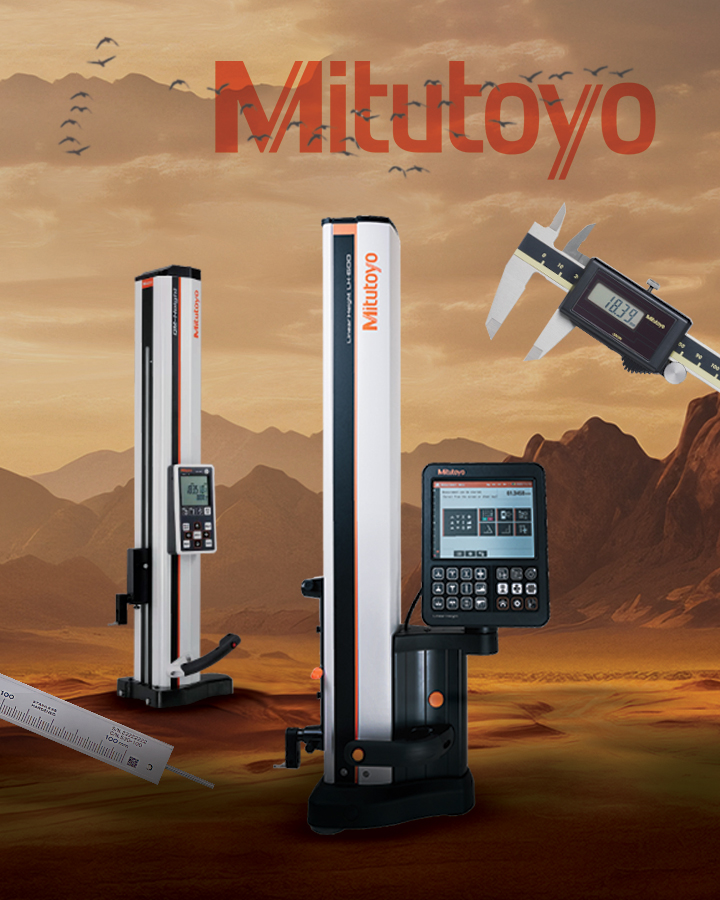
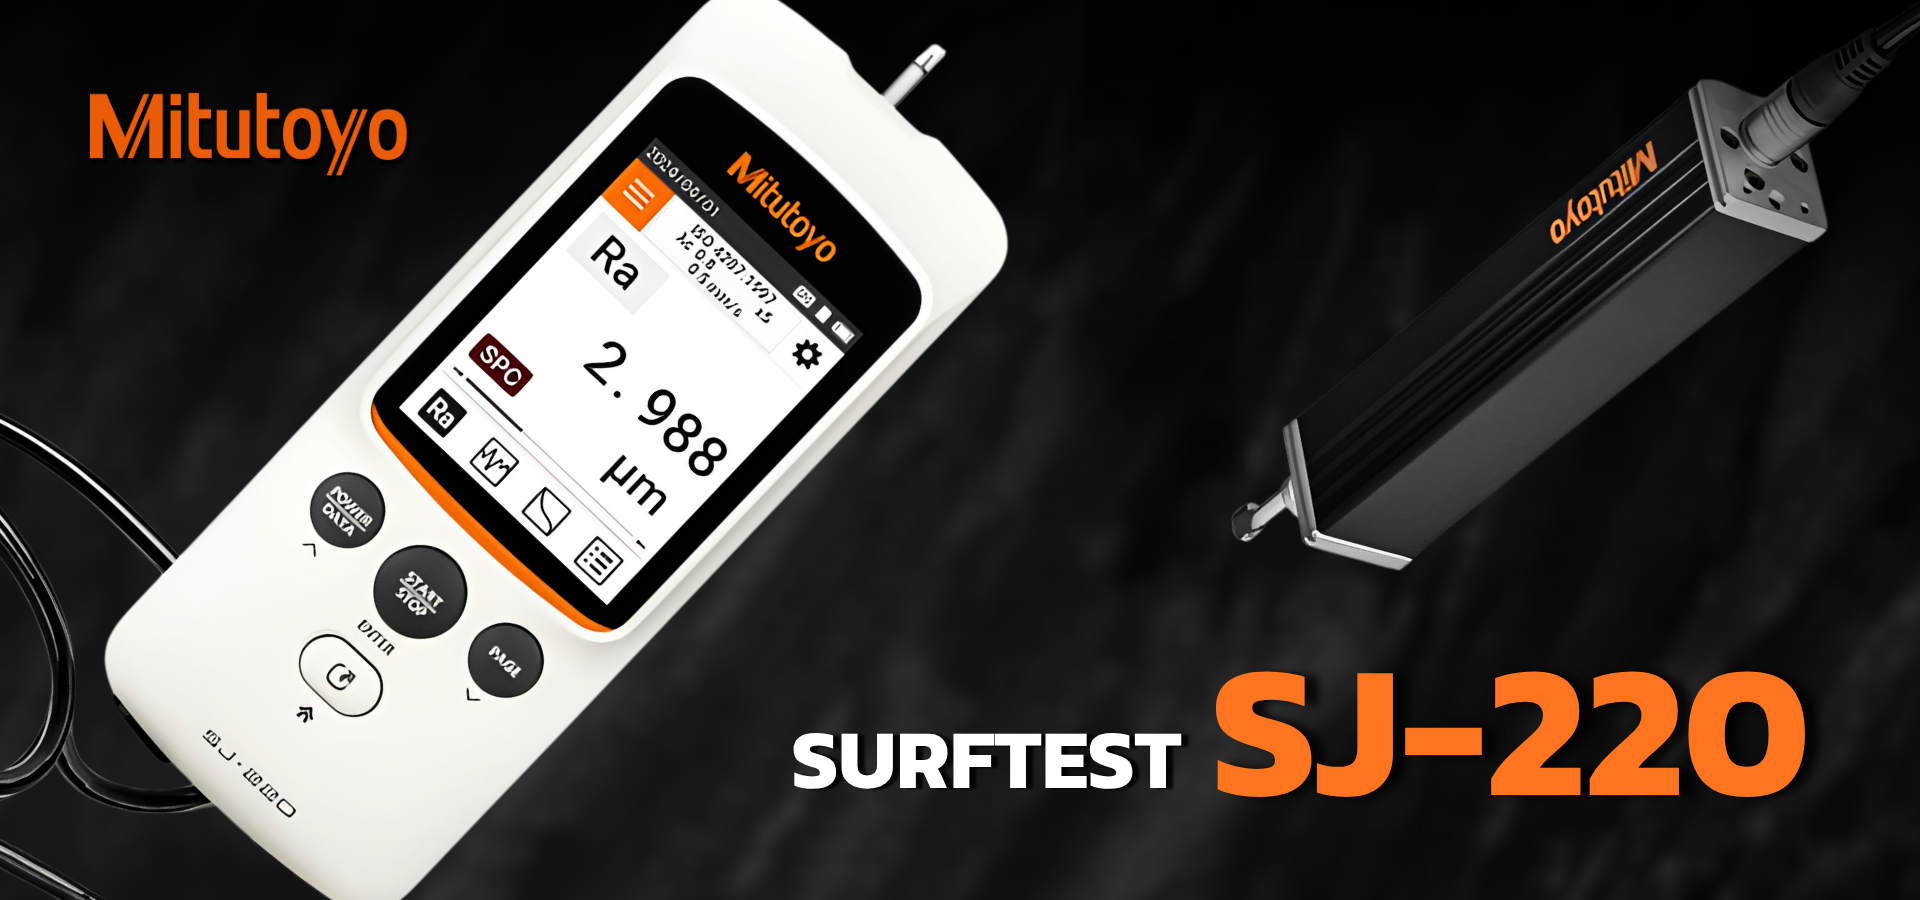
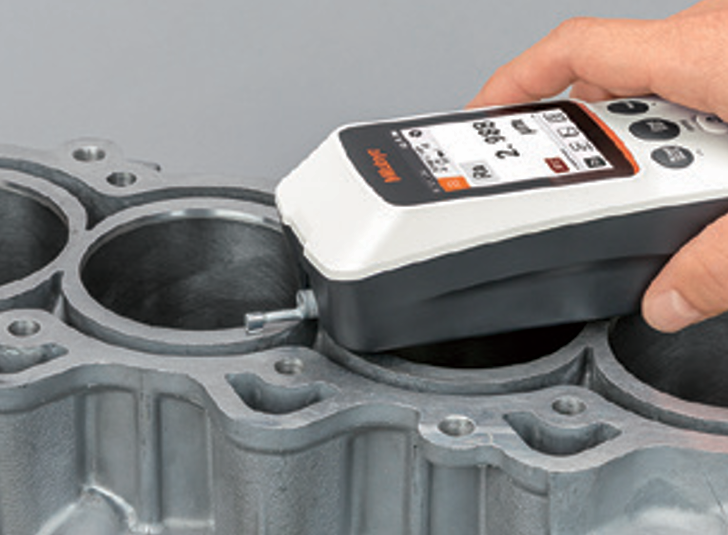
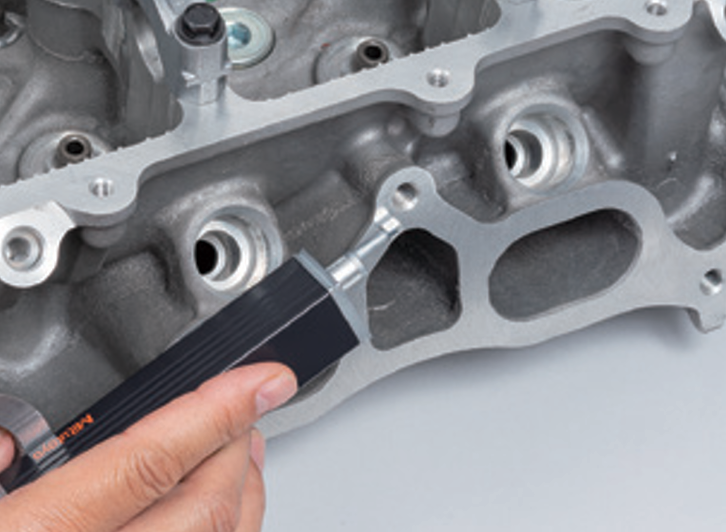
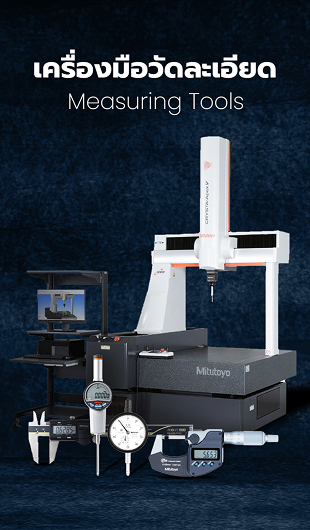
A portable surface roughness tester designed like a hand tool for easy on-site use
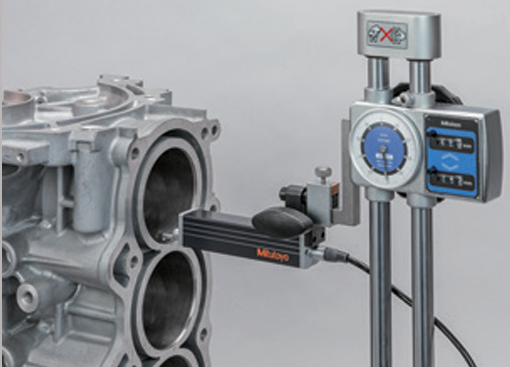
The SJ-200 series of portable surface roughness measuring instruments that has contributed to industrial development and technological progress through precision measurements, has evolved further still.While maintaining excellent portability and ease of use on-site, it also provides touch screen functionality for intuitive operability. Equipped with a built-in battery, it can perform measurements in environments where power is not available and can be used approximately 1000 times on a full charge.Cableless and paperless work is made possible by using the U-WAVE-TIB, a Mitutoyo wireless data transmitter.This is a user-friendly device that provides compatibility and versatility to meet diverse manufacturing needs.
 |
 |
 |
User-friendly
Simple and easy for anyone to use.Convenient portability and onetouch measurement
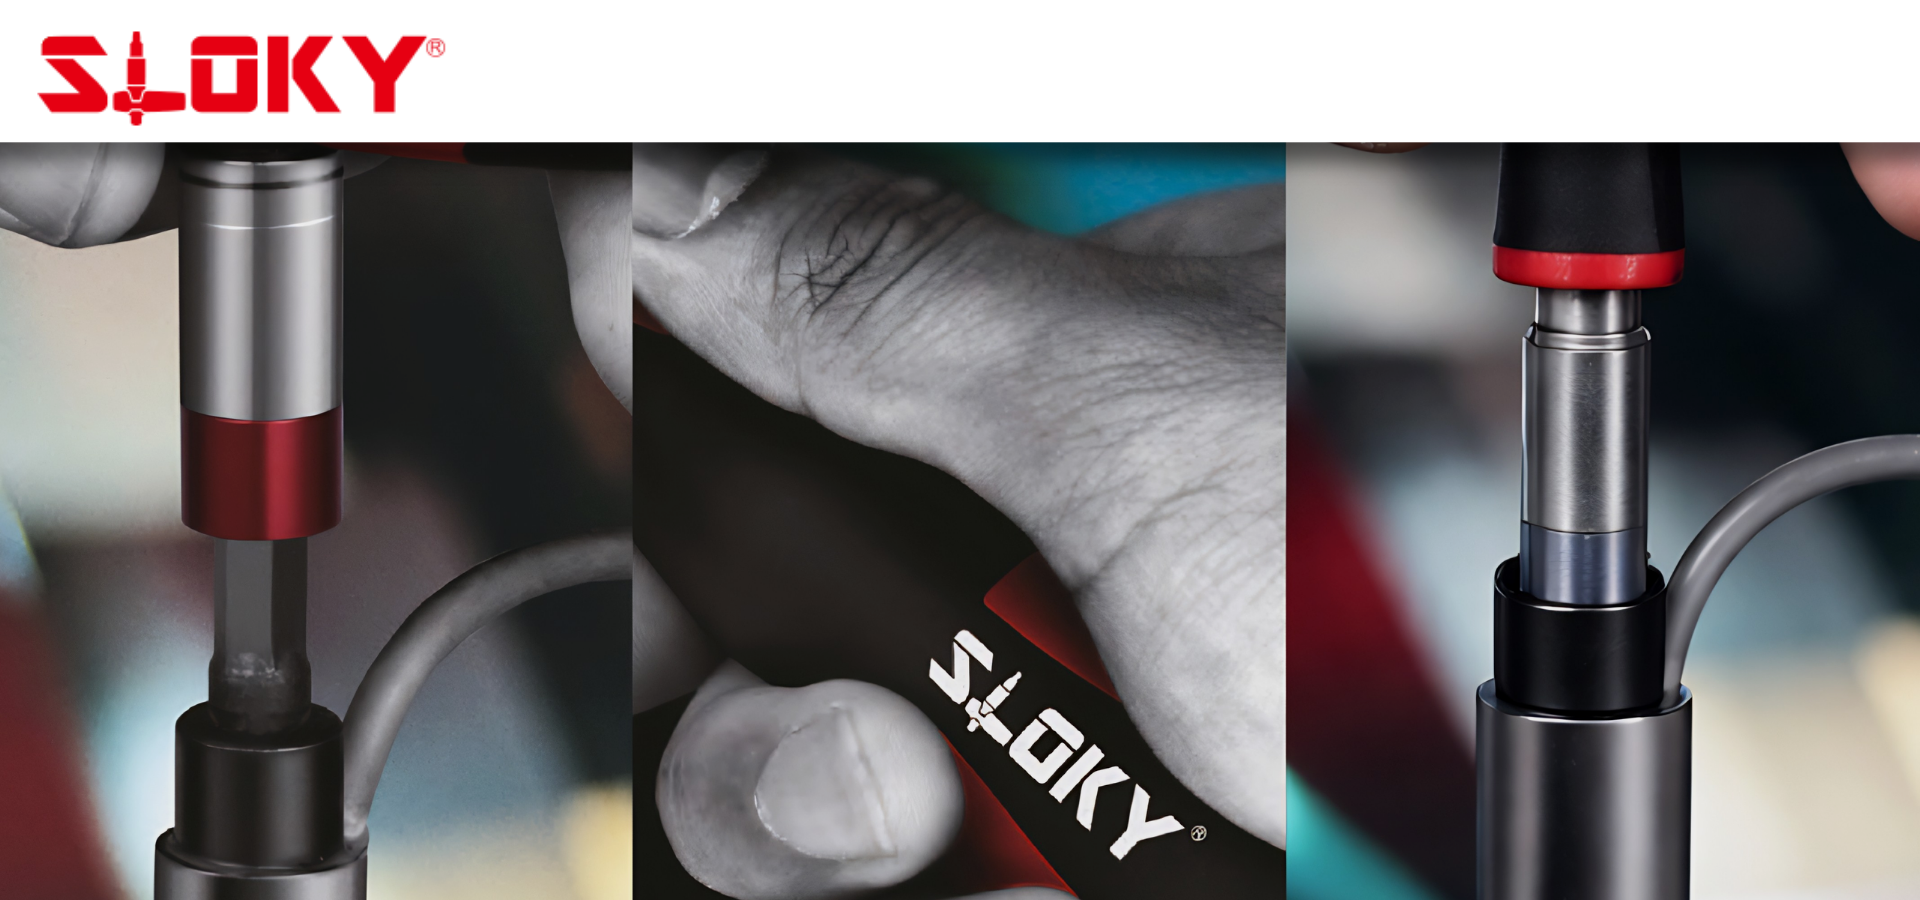
Torque Screwdriver for TORX® Single Set, 25mm+50mm Bits
Sloky straight handle torque screwdriver
Sloky torque screwdriver with straight handle as smallest Torque Screwdriver in the world. Due to the advantage of our torque adapter, we don't need to utilize the space in the handle. Any handle with 1/4" (6.35H) hole willl be good for Sloky torque adapter. This set is most commonly accepted one and good for small torque. Straight handle with 1 torque adapter (0.6 ~ 3Nm) and 1 pc each of 25mm and 50mm bit (Torx, Torx Plus and Hex) avaliable. User friendly for CNC cutting tool of machining, turning and milling. (TORX® and TORX PLUS® both are registered trademarks of Acument global technologies LLC.)
Let CLICK Tell You When the Torque is Reached!
Quick release! Simply pull the bit outward to change new bit.Perfect positioning in the bits.
A Secure hold, you’ll never second-guess; a precision torque tool is only as
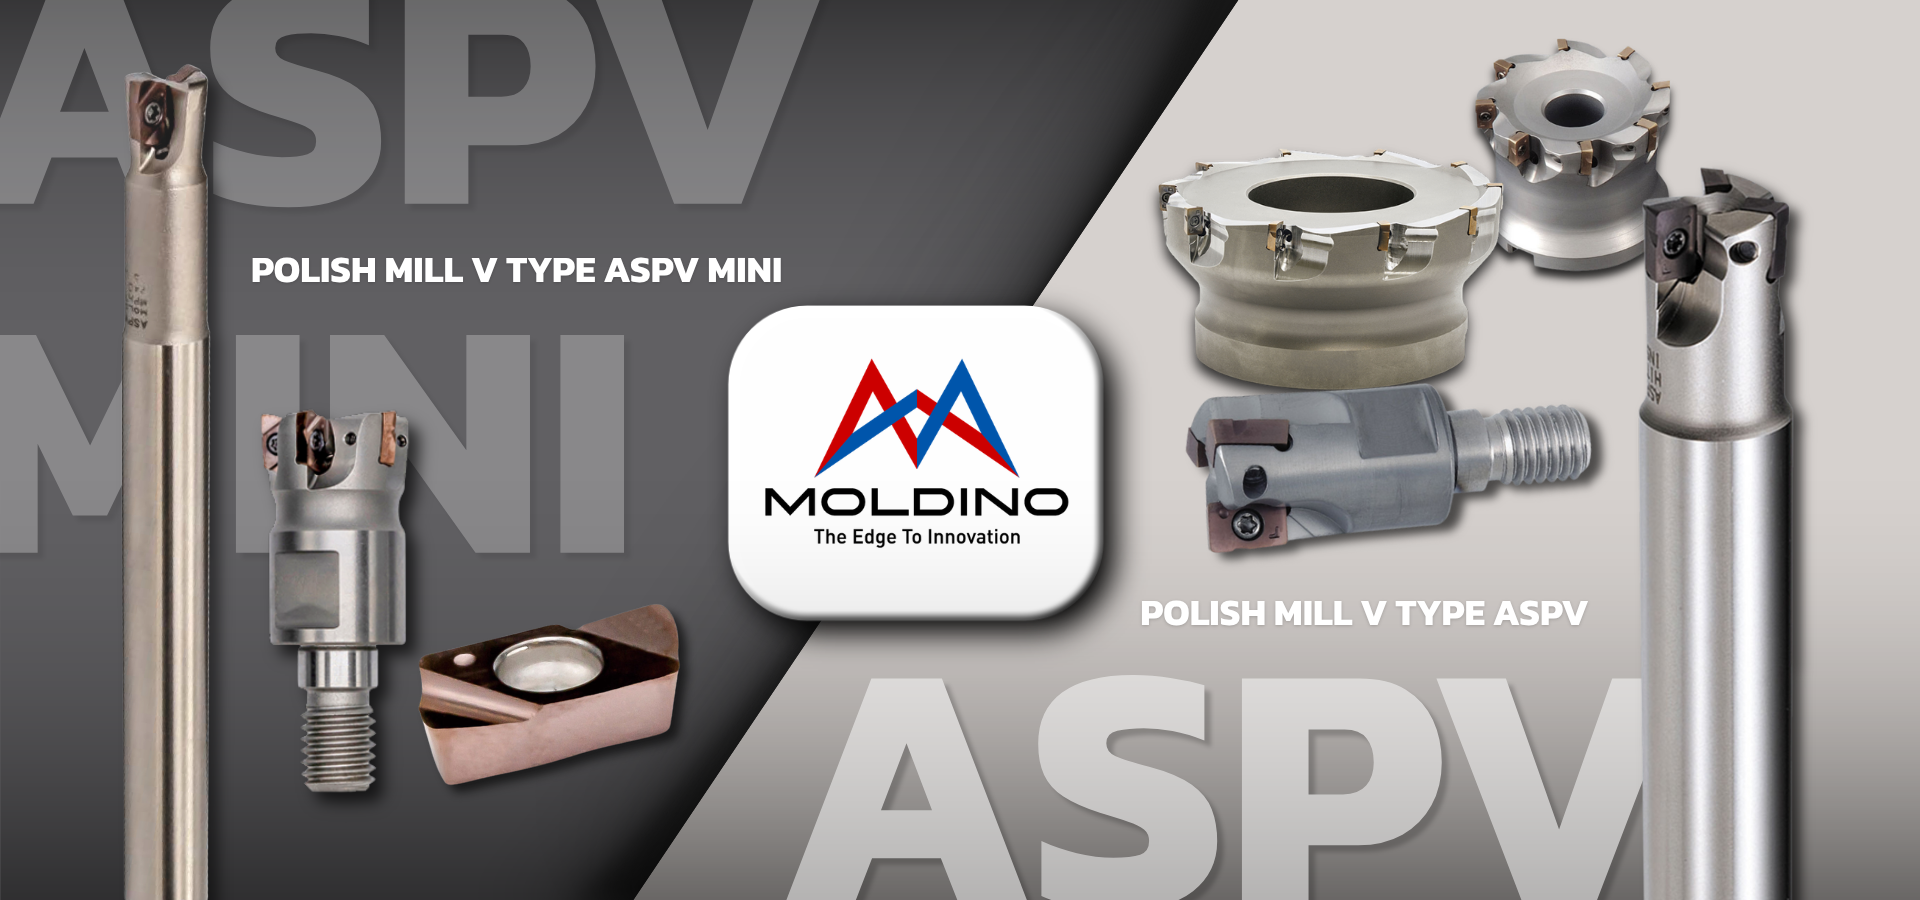
Expanded lineup with a focus on large-diameter bodies, precision bodies and insert grades.
| Features and Series Product Positioning |
Addresses challenges posed by structural component finishing
| Issue 01 | We want to reduce cycle times, but increasing cutting conditions reduces accuracy. |
Proposed solutions
High precision × fine pitch concept
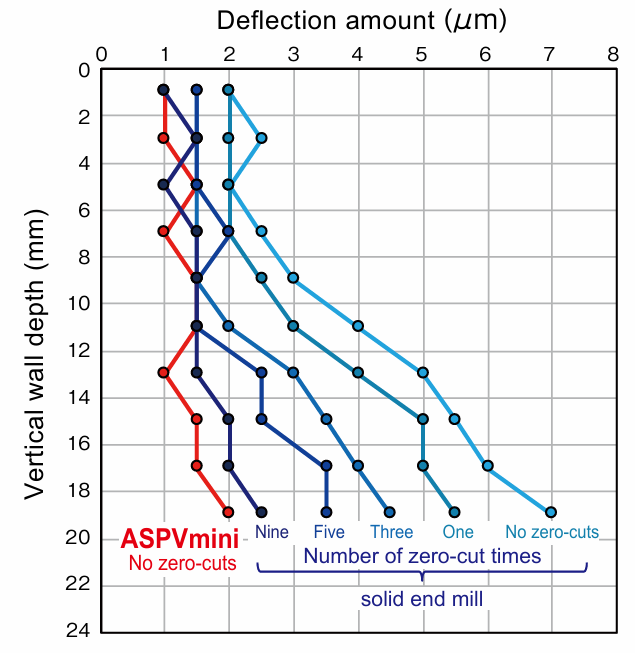
| Point! | Combines high precision ground inserts with fine-pitch body design to ensure both accuracy and productivity. |
|
|
|
| Point! | Reduces rework operations and significantly reduces finishing time. |
 |
 |

| Issue 02 | Different tools are required for various machining locations and depths.Typically, this calls for a large number of tools. |
Proposed solutions
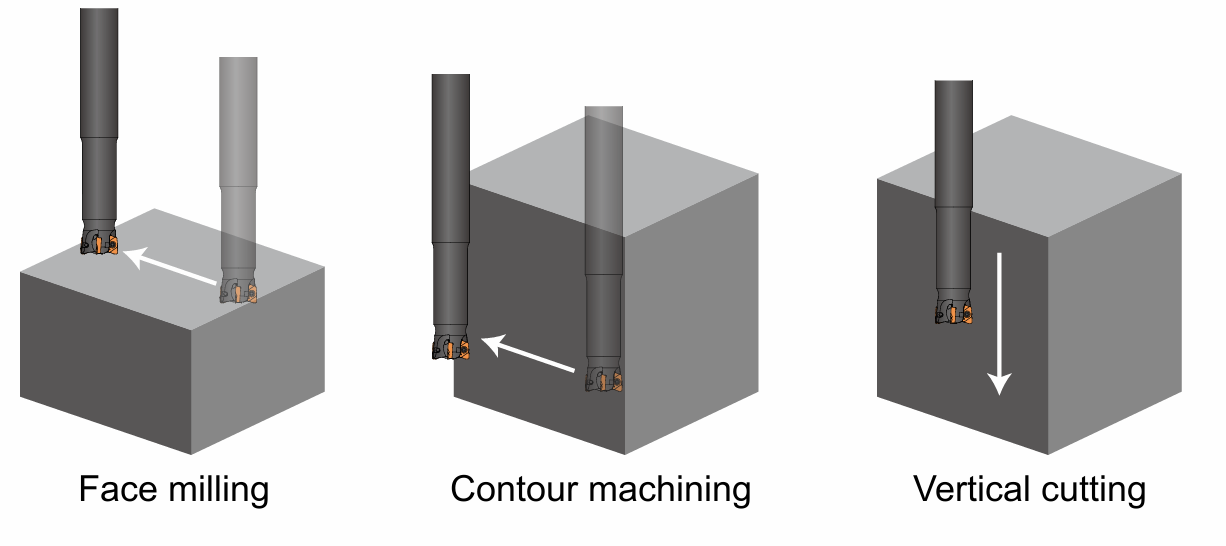
Supports a wide range of machining requirements.
| Point! | High flexibility in machining methods makes it possible to machine a wide range of locations. |
 |
Interference avoidance variations
| Point! | Extensive lineup reduces risk of interference |
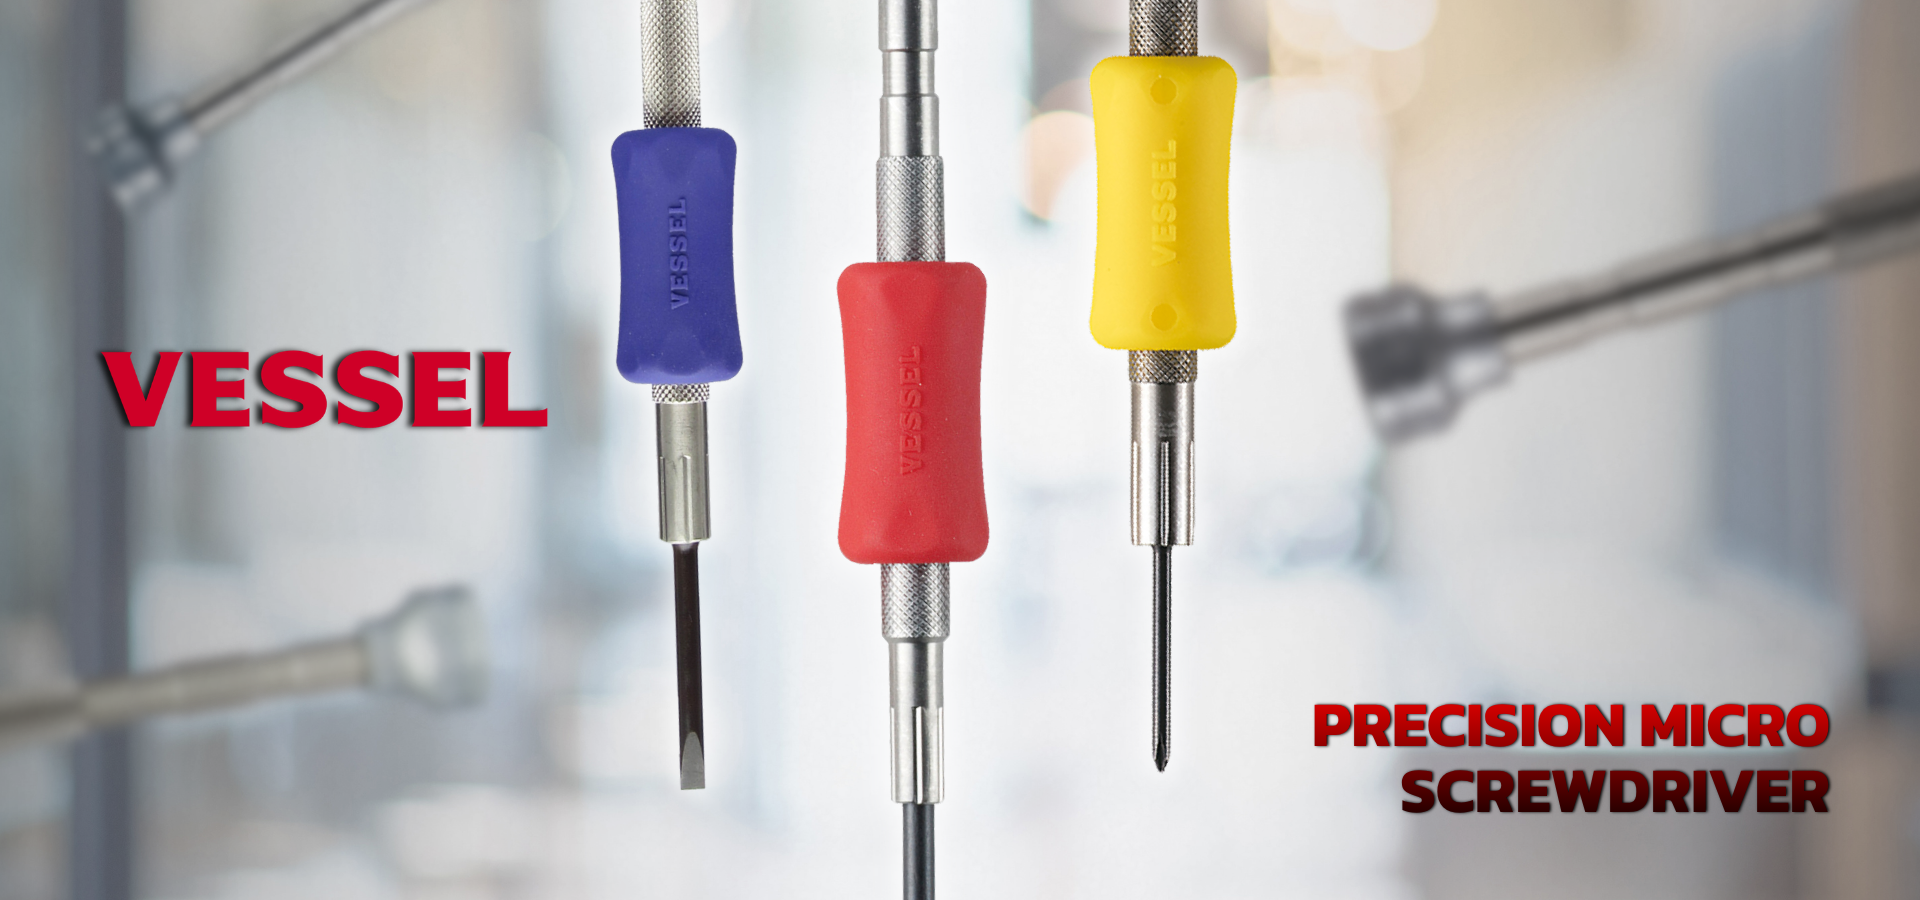
Precision Screwdriver No TD-51 +000/+0000
Precision Screwdriver Set No.TD-56S +0/+00/+000/+0000/-0.9/-0.7
| The cushion grip is adjustable for comfortable fastening. |  |
Perfect!for such micro screws!!
|
|
Micro tip +000 Shank dia. 1.6mm +0000 Shank dia. 1.4mm |
Light touch makes quick and stable fastening possible. Rust-resistant stainless steel |
 |
|
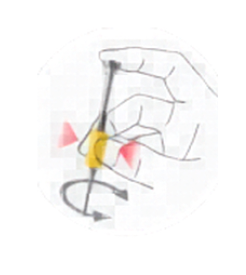
| Cushion grip, adjustable, easy to operate | Knurled Grip design specifically suitable for adjustment work |
| Speed Fastening | Precision Fastening | |
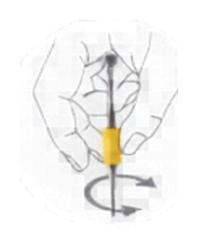
| Both cushion grip and knurled section should be used for quick fastening. | Press the cushion grip firmly and make a rotation | |
 |
 |
Precision Screwdriver


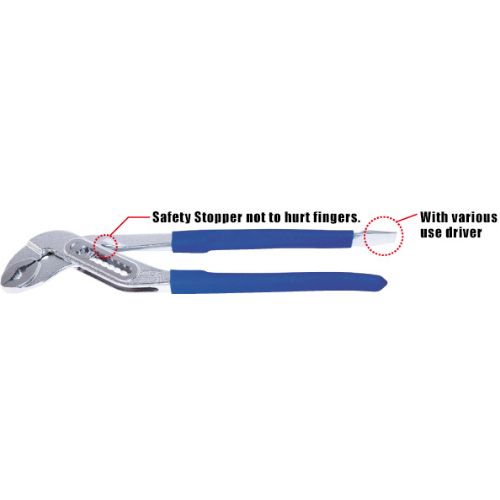 |
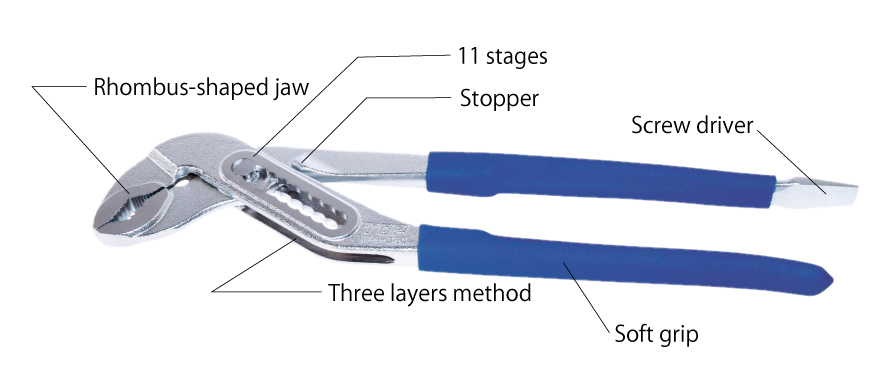
THREE LAYERS WATER PUMP PLIERS(With slotted screwdriver)• The three-layers structure prevents backlash and grasps strong. • The rhombus-shaped jaw can be tightened firmly without sliding the pipes etc. • The jaw processed a high-frequency induction hardening, excellent for abrasion resistance. • Suitable for attaching and detaching water pipe, gas pipe, and air pipe. |
●Catch an object strongly! Added A New Size! (WP3-300)
|
|
“Three layers” mechanism
|
|
|
Rhombic mouth
|
• A high frequency induction hardeningon the jaw has abrasion resistance and it won’t have a backlash over a long period of time and continite the ability of catch.
• Notchesd is fine, able to work with optimal size.
• The soft grip reduce a pain in the hand, also, the emboss processing


คณะผู้บริหารและตัวแทนจาก MITUTOYO ร่วมประชุมสรุปประจำปี และสวัสดีปีใหม่ 2024 ผู้บริหาร JSR GROUP

คณะผู้บริหารและตัวแทนจาก มิตูโตโย ร่วมประชุมสรุปประจำปี และสวัสดีปีใหม่ 2024
